 Home
ABOUT TUFF POOLS
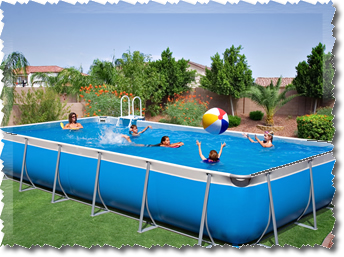
Rectangle Pools
Round Pools
ASSEMBLY / INSTALL
TUFF POOL WARRANTY
Ladders
FIND A DEALER
USER MANUALS
CONTACT US
Home
ABOUT TUFF POOLS
Rectangle Pools
Round Pools
ASSEMBLY / INSTALL
TUFF POOL WARRANTY
Ladders
FIND A DEALER
USER MANUALS
CONTACT US
Assembly / Install
No nuts, bolts, or screws, the TUFF POOL snaps together. The TUFF POOL can be set up in under an hour on almost any surface. Just level the ground within a few inches, clear off any sharp objects, and assemble. The TUFF POOL is a "snap"!
Portable means savings! Avoid installation fees, expensive ground preparation charges, replacement liner costs, and winter maintenance expenses often associated with traditional above ground pools.
 Assembly
Instructions for Rectangle Assembly
Instructions for RectangleTuff Pool Above Ground Pool Rectangle Installation Video 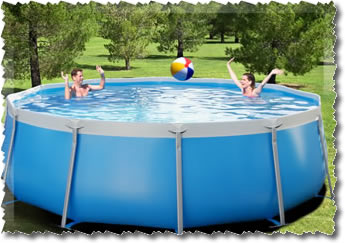 Assembly Instructions
for Round Assembly Instructions
for RoundTuff Pool Above Ground Pool Round Installation Video |
|
Pool Assembly Tips
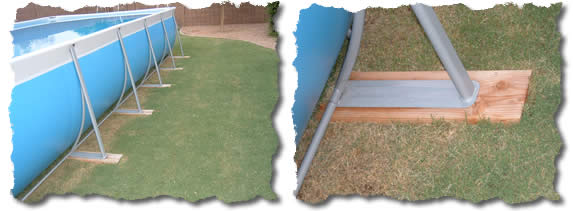
Soft Ground Installation: For assembly on soft ground, lumber supports may be necessary under the foot of each strut. Use Pressure Treated 2"X8"X20" Lumber. Refer to size layout sheet for number of pieces needed.
|
|